Tiling a kitchen splashback can transform your cooking space, adding both style and practicality.
Whether you’re a seasoned DIY enthusiast or a homeowner taking on your first tiling project, this blog will walk you through every step.
At Ceramic City, we pride ourselves on providing top-quality tiles and expert advice to help you achieve a professional finish.
From choosing the right tiles to grouting and maintenance, we’ve got you covered.
Let’s dive into the process and turn your kitchen into a masterpiece.
Tools and Materials Needed to Tile your Kitchen Splashback
To start your kitchen splashback tiling project, you’ll need to gather all the necessary tools and materials.
Having everything ready before you begin will make the process smoother and more efficient.
Here’s a list of essential items:
Tools:
- Tape measure
- Pencil
- Spirit level
- Tile cutter or wet saw
- Notched trowel
- Tile spacers
- Grout float
- Sponge
- Bucket
Materials:
- Kitchen splashback tiles
- Tile adhesive
- Grout
- Tile sealer (optional)
- Protective gear (gloves, safety goggles)

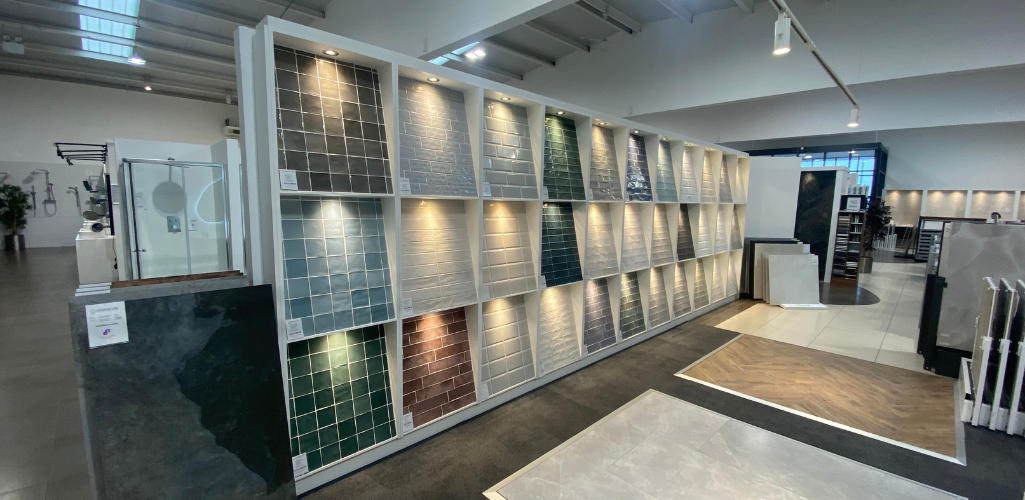
Tips for Choosing the Right Tiles:
When selecting tiles for your kitchen splashback, consider both aesthetics and functionality.
Ceramic tiles are a popular choice due to their durability and ease of cleaning.
You can also explore options like glass or natural stone for a unique look.
Here are our most popular in 2024.
How to Tile a Kitchen Splashback: Step by Step
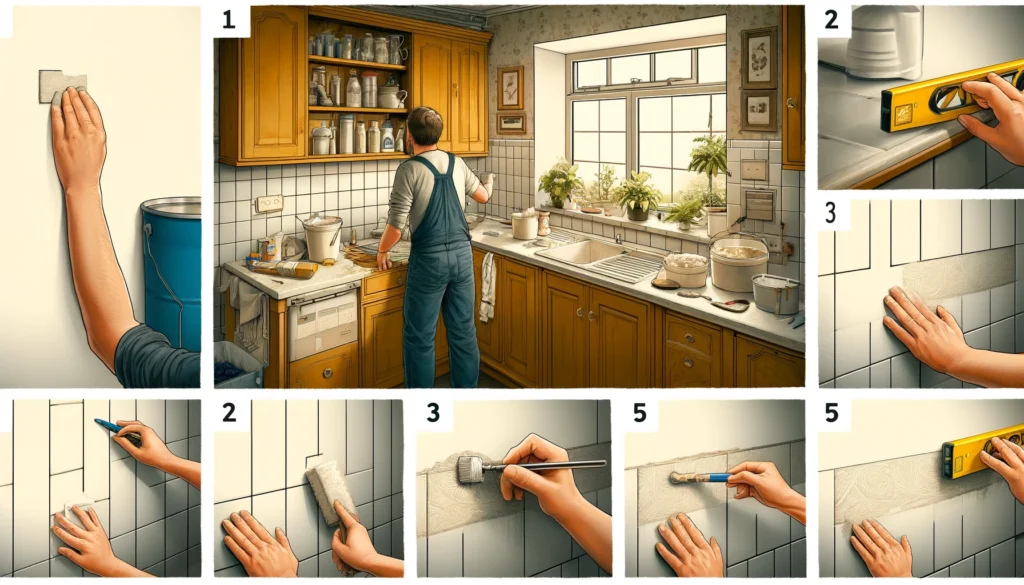
Preparing the Wall
Before you start tiling, it’s crucial to properly prepare the wall to ensure the tiles adhere well and stay in place.
Follow these steps to get your wall ready:
- Clean the Wall:
- Remove any grease, dust, or old adhesive from the wall surface.
- Use a mild detergent and a sponge to clean the wall thoroughly, then let it dry completely.
- Repair Any Damage:
- Inspect the wall for any cracks or holes.
- Fill in any imperfections with filler and smooth it out with sandpaper once it’s dry.
- Prime the Wall:
- Apply a primer suitable for your wall type (drywall, plaster, etc.).
- This helps the adhesive bond better with the wall surface.
- Mark the Tiling Area:
- Use a pencil and a spirit level to draw horizontal and vertical guidelines on the wall.
- These lines will serve as a guide to ensure your tiles are straight and evenly spaced.
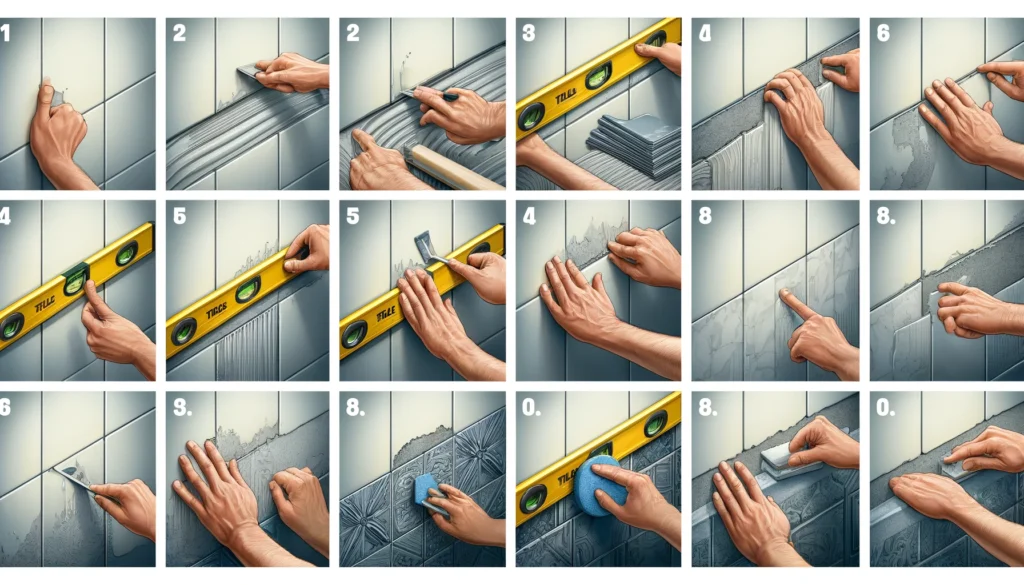
Measuring and Cutting Tiles
Proper measurement and cutting are crucial to achieving a professional-looking splashback.
Follow these steps to ensure accuracy:
- Measure the Area:
- Use a tape measure to determine the height and width of the area to be tiled.
- Calculate the number of tiles needed, considering space for grout lines.
- Plan the Layout:
- Dry lay the tiles on the countertop to visualise the layout.
- Ensure you have a balanced look with minimal tile cutting.
- Cutting the Tiles:
- Mark the tiles where they need to be cut using a pencil and a spirit level.
- Use a tile cutter or wet saw to make precise cuts.
- Always wear protective gear while cutting tiles to avoid injury.
Applying Tiles
With your wall prepared and tiles measured and cut, it’s time to start applying the tiles.
Here’s how to do it:
- Apply Adhesive:
- Spread tile adhesive evenly on the wall using a notched trowel.
- Work in small sections to prevent the adhesive from drying out before you place the tiles.
- Place the Tiles:
- Start from the bottom center and press each tile firmly into the adhesive.
- Use tile spacers to maintain even gaps between the tiles.
- Check the alignment frequently with a spirit level to ensure the tiles are straight.
- Adjust as Needed:
- Make any necessary adjustments while the adhesive is still wet.
- Wipe off any excess adhesive that oozes out from between the tiles with a damp sponge.
- Let It Set:
- Allow the adhesive to set according to the manufacturer’s instructions before grouting.
Not sure whether to pick ceramic or porcelain tiles? This blog will explore the differences in both.
Grouting and Finishing
Grouting is the final step that will secure your tiles and give your splashback a polished look. Follow these steps:
- Mix the Grout:
- Follow the manufacturer’s instructions to mix the grout to a smooth consistency.
- Apply the Grout:
- Use a grout float to spread the grout over the tiles, pressing it into the gaps.
- Work in small sections and wipe off excess grout with a damp sponge, working diagonally across the tiles.
- Clean the Tiles:
- Once the grout has set slightly, use a clean, damp sponge to remove any remaining grout haze from the tile surfaces.
- Polish the tiles with a dry cloth once the grout is fully dry.
- Optional Sealing:
- Apply a grout sealer to protect the grout from stains and moisture.
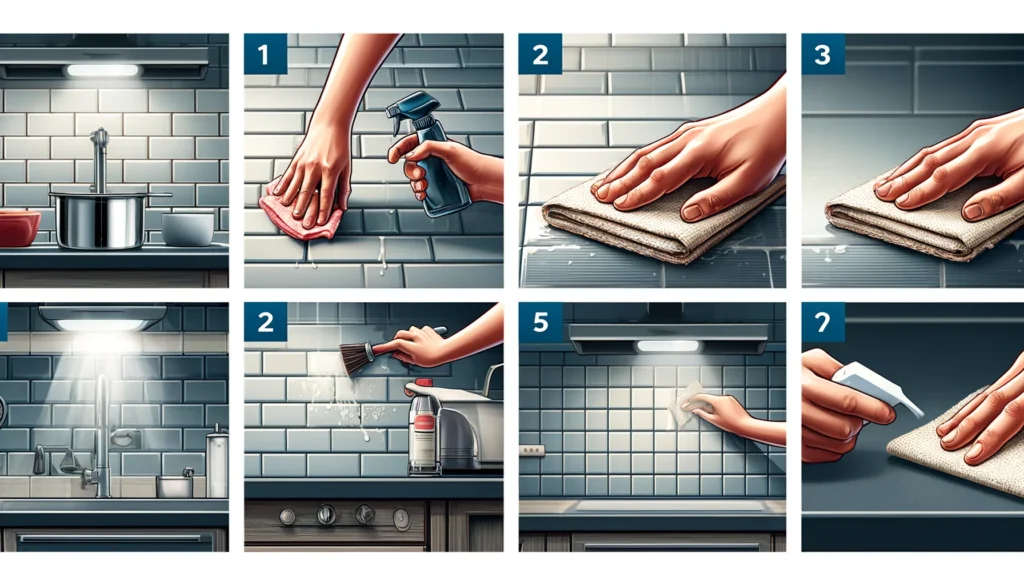
Maintenance and Cleaning
To keep your tiled splashback looking pristine, follow these maintenance tips:
- Regular Cleaning:
- Wipe down the tiles regularly with a damp cloth to prevent buildup.
- Use a mild cleaner for tougher stains.
- Avoid Harsh Chemicals:
- Avoid using abrasive or acidic cleaners that can damage the tiles and grout.
- Sealing:
- Reapply tile sealer periodically if used, to maintain protection.
Check out this blog on how to clean the grout between your tiles.
Conclusion
By following this guide, you can achieve a beautifully tiled kitchen splashback that enhances both the functionality and aesthetic appeal of your kitchen.
At Ceramic City, we offer a wide range of high-quality tiles and expert advice to help you every step of the way.
Visit our showrooms or website to explore our collection and start your tiling project today.
Ready to transform your kitchen?
Visit Ceramic City for top-quality kitchen tiles and professional advice.
Click here to explore our collection and start your project now!