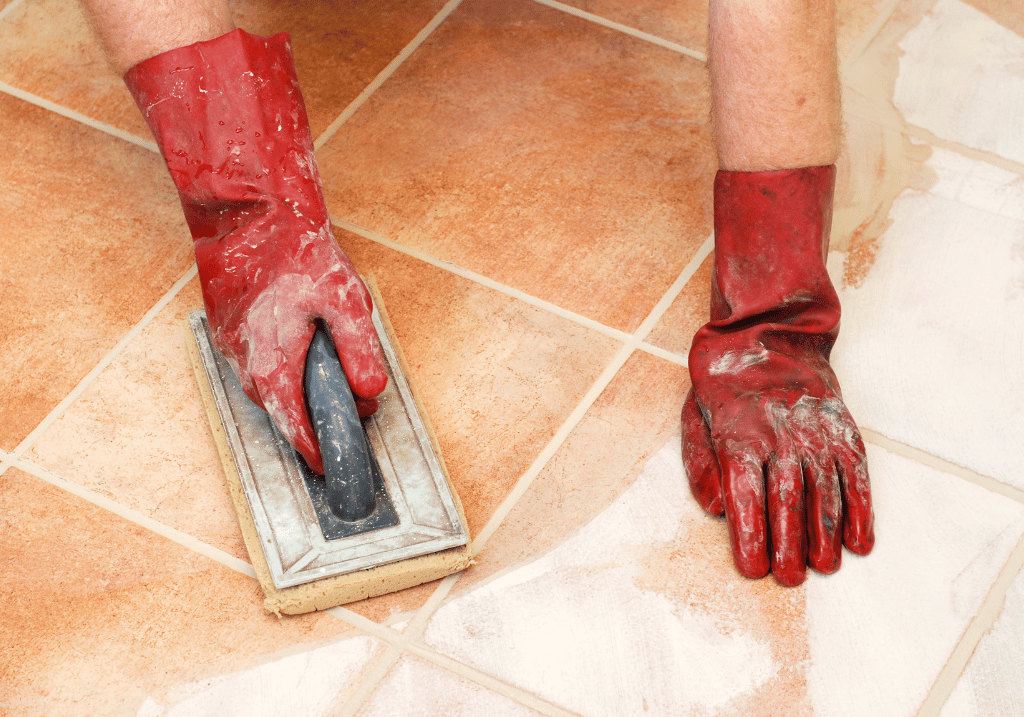
Is the dirty grout in between your lovely clean porcelain and ceramic kitchen and bathroom floor tiles annyoing you? Are you wondering how to make them gleaming again?
In this blog we’re going to dive into a tedious, but really important job that needs doing on the floor tiles in nearly every kitchen and bathroom in Ireland at some stage.
This goes for wall tiles too, by the way.
Whether you’re a proud homeowner sprucing up your kitchen or bathroom, or a DIY enthusiast ready for your next project, this guide is for you.
We’ll break down the process into simple, effective steps, ensuring your tiles look as grand as the day you laid them.
Let’s get started on bringing a fresh look back to your kitchen floors!
Why you should clean the Grout between the Floor Tiles
You wouldn’t want a dirty home, would you?
Plus, having your tiles looking shiny and immaculate adds more than visual appeal to your home, it increases the life-span of the tiles as well.
Here are some of the main reasons:
Makes them look brand new
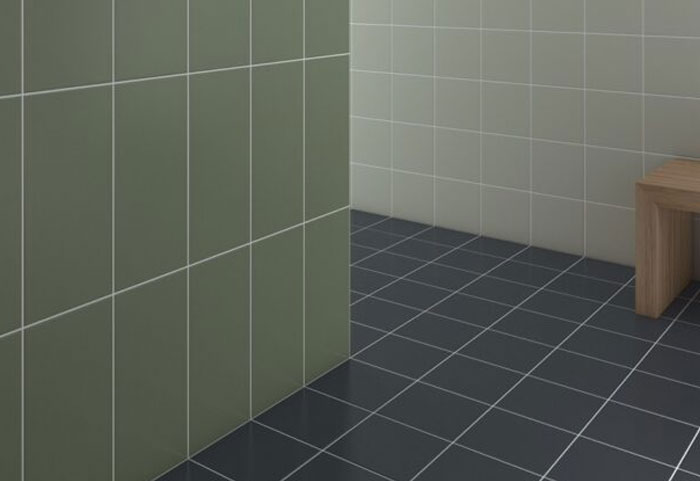
Whether you have ceramic or porcelain tiles in your home, kitchen or bathroom, having clean and shiny grout really makes the tile pop out and enhance the overall look of the floor.
As well as that, it also unveils the vibrant hues and intricate designs of your tiles, rekindling their timeless allure and leaving guests in awe.
Know how tiles are made? It’s very interesting.
Read on if you already do.
Hygiene and Health
Dirty grout is not hygienic.
Grout can become a haven for mould growth, so maintaining cleanliness is crucial for a healthy living space.
Consistent cleaning helps to minimise dust and allergens, which is essential for maintaining a fresh and clean living environment for both you and your family.
If you’re thinking of using a steam mop on your porcelain tiles, check out this blog.
Increases the Durability
Over time, dirt and grime can wear away at the grout.
Maintaining clean grout is essential for ensuring the longevity of your tile work and avoiding any cracks, gaps and tiles coming loose.
Keeping your tiles clean on a regular basis will help you effortlessly maintain their pristine condition over time, especially from substances like oil.
Don’t forget, taking care of your grout goes beyond just maintaining its appearance; it’s about safeguarding the essence of your living space.
Stay tuned as we walk you through every step of this crucial task.
Essential Tools for the Job
Fail to prepare, prepare to fail.
So, making sure you have the right tools for the job will make sure you know how to clean the grout between the floor tiles in your home correctly.
There are some basic ways, and more complex ways of doing the job – below we’ll go through the lot.
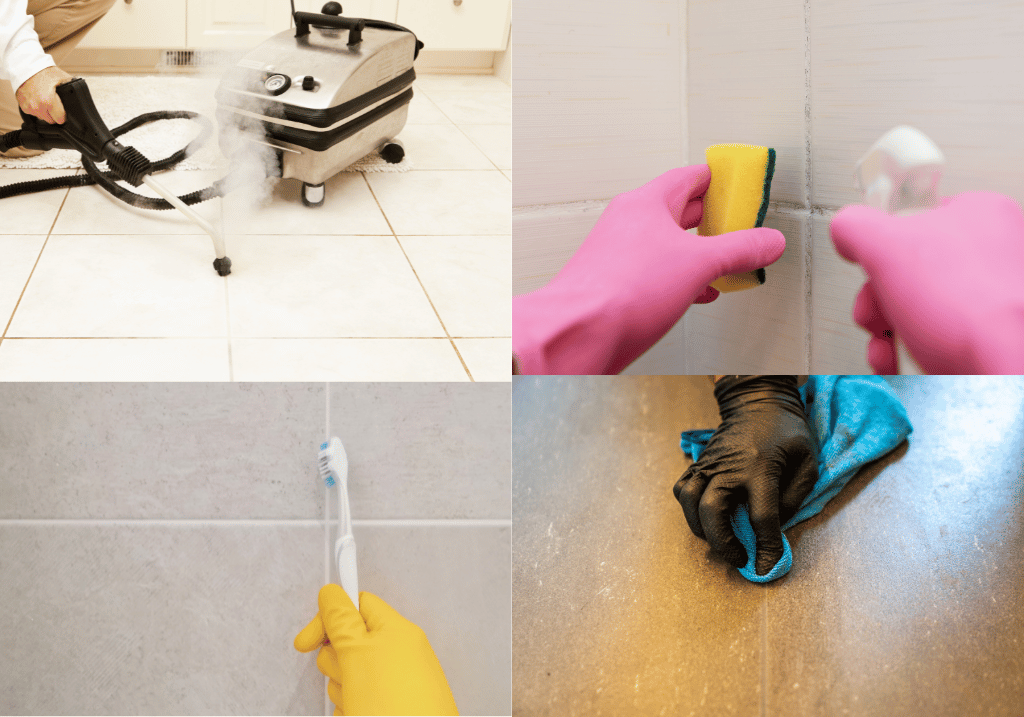
Basic Tools for Cleaning Grout
- Old Toothbrush or Grout Brush: For scrubbing the grout lines.
- Bucket: For mixing cleaning solutions and rinsing.
- Cleaning Gloves: To protect your hands, especially when using chemical cleaners.
Cleaning Solutions
- Mild Detergent: Like dish soap, for general cleaning.
- Baking Soda: Great for making a natural cleaning paste.
- White Vinegar: Useful for tougher stains (but avoid using on natural stone tiles).
- Hydrogen Peroxide: For deep stains and mold.
Optional & More Complex
- Commercial Grout Cleaner: If you prefer a ready-made solution, ask instore about our complete range of products.
- Steam Cleaner: For a deep, chemical-free clean.
Step-by-Step Guide on how to Clean Grout between the Floor tiles
Ok, in the first part, we’ll tell you how to clean your grout the old-fashioned way – with some elbow grease.
The next section, we’ll talk you through the method of using a steam cleaner, which can be seriously effective.
Step 1: Getting Ready
Create Your Cleaning Solution: Mix your preferred cleaner in a bucket. To create a homemade paste, combine baking soda with water.
Tidy up the space and be sure to clear away any rugs or movable furniture from the tiled area.
Step 2: Applying the Cleaner
Apply the cleaning solution along the grout lines using a brush.
Allow the cleaning solution to sit for 5-10 minutes to effectively tackle tough stains.
Step 3: Cleaning
Be sure to scrub gently when using the brush on the grout lines.
Take care and be cautious to prevent any potential harm.
When dealing with stubborn stains, add a little extra cleaner and vigorously scrub. You might need to repeat step 2 if this doesn’t work the first time.
Step 4: Rinsing
Clean Up: Once you’ve finished scrubbing, simply grab a damp mop or cloth to wipe away the cleaner.
Thoroughly Rinse: Make sure there is no leftover residue on the tiles or the grout.
Step 5: Drying
Make sure to let the area air-dry completely and then thoroughly inspect the grout to ensure that there are no missed spots or lingering stains.
If there are, repeat the above steps until the dirt is lifted and the grout looks brand new.
Step By Step: Steam Cleaner
If all else fails, steam cleaners can be serious machines to remove grout dirt.
But it’s important you remember some key points.
Step 1: Selecting the Right Steam Cleaner
Make sure to check for attachments: It’s important to have a steam cleaner that includes a small brush attachment specifically designed for cleaning grout.
Make sure to check the steam pressure of the machine to ensure it has enough power to effectively penetrate and loosen grime in the grout too.
Step 2: Getting Ready
Make sure to eliminate any loose dirt or debris from the tile surface by sweeping or vacuuming.
Addressing Stubborn Stains: When dealing with particularly stubborn marks, it may be helpful to pre-treat the affected areas using a gentle cleaning solution like the one above.
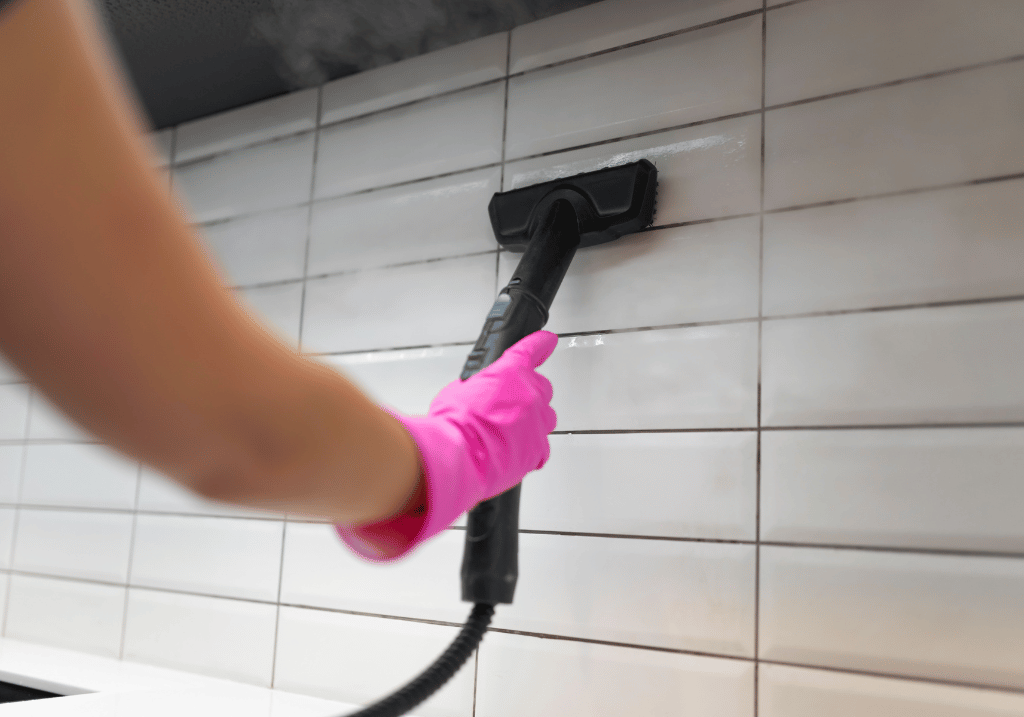
Step 3: Steam Cleaning
Prepare and Warm Up: Prepare the steam cleaner by filling it with water and allowing it to warm up as per the instructions provided by the manufacturer.
Try conducting a test on a small area: Begin by selecting a less conspicuous spot to ensure that the steam does not cause any harm to your grout or tiles.

Utilise the Brush Attachment: Apply the brush attachment to concentrate the steam directly on the grout lines.
Take your time and proceed with caution: Gently glide the steamer along the grout lines, allowing the steam to effectively penetrate and loosen the dirt.
Step 4: Removing Stubborn Stains
Remember to use a microfiber cloth to wipe the area after steaming. This will effectively remove any loosened dirt and moisture.
Step 5: Drying
Ensure Proper Drying: It is important to allow the grout and tiles to air dry thoroughly.
Step 6. Sealing (if desired)
Don’t forget to seal the grout!
Once you’ve finished cleaning and it’s completely dry, it’s a good idea to apply a grout sealer. This will help protect it from any future stains and dirt buildup.
At Ceramic City you can talk to any one of our professional staff about the selection of grout sealers we have to offer
Benefits of the Steam Cleaner for cleaning Grout
- Steam cleaning is a fantastic choice for those who prioritise safety and the environment, as it can eliminate the need for harsh chemicals.
- Deep Cleaning: The powerful steam effortlessly loosens and eliminates stubborn dirt and grime.
- Sanitising: Steam cleaning is an effective way to eliminate bacteria and mould spores, leaving the surface clean and germ-free.
Considerations before Steam Cleaning
- Tile Type Sensitivity: Be cautious with steam cleaning on certain types of tiles, like natural stone or tiles with damaged glaze, as steam can cause damage.
- Regular Maintenance: While steam cleaning is effective, regular maintenance is still necessary to keep grout clean over time.
Conclusion
We’ve covered everything from the basics of grout cleaning to maintaining its appearance over time.
If you want to clean the bathroom tiles themselves, this blog will tell you how to keep them spick and span.
Really important parts of maintaining your tiles at Ceramic City.
Don’t forget, staying on top of regular maintenance is essential for keeping your grout lines looking sharp and your tiles shining bright.
For all your tile needs, make sure to call into one of Ceramic City’s showrooms and speak to our experts.
FAQs: How to Clean Grout Between Floor Tiles
Q: How often should I clean the grout between my floor tiles?
A: For best maintenance, it’s recommended to do a light cleaning once a week and a deep clean every few months, depending on foot traffic and spills.
If you want to tile your kitchen splashback, this step by step guide will help you.
Q: Can I use bleach to clean my tile grout?
A: While bleach can be effective for whitening grout, it can be harsh and may damage colored grout over time. It’s better to use gentler alternatives like baking soda and vinegar for regular cleaning.
Q: Will steam cleaning damage my grout?
A: Generally, steam cleaning is safe for most types of grout. However, if you have fragile or old tiles, it’s best to test a small area first or consult with a professional.
Q: How do I prevent mold and mildew in grout lines?
A: Regular cleaning and good ventilation are key. Additionally, using a sealant on your grout can help prevent moisture absorption, reducing mold and mildew growth.
Q: What’s the best way to remove tough stains from grout?
A: For tough stains, a paste made from baking soda and water, applied and left to sit for a few minutes before scrubbing, can be very effective. For extremely stubborn stains, a commercial grout cleaner might be necessary.
Q: Can I use a regular cleaning brush to clean grout?
A: Yes, a regular stiff-bristled brush can work, but a grout brush, which is specifically designed for this purpose, will usually be more effective and easier to use.
Q: Is it necessary to seal grout after cleaning?
A: Sealing grout isn’t mandatory but is highly recommended, especially in high-moisture areas like bathrooms and kitchens. It helps in protecting the grout from stains and prolongs its cleanliness.