When tackling a DIY home renovation involving ceramic tiles, whether it’s refreshing a bathroom or updating a kitchen backsplash, having the right tools is essential.
One of the most crucial tools is the drill bit, specifically designed for ceramic tiles.
But with all the different types available, what is the best drill bit for ceramic tile?
This blog will help you not only choose the right drill bit but also ensure you use it correctly to avoid any costly mistakes.
Understanding Drill Bits for Ceramic Tiles
Why the Right Drill Bit Matters
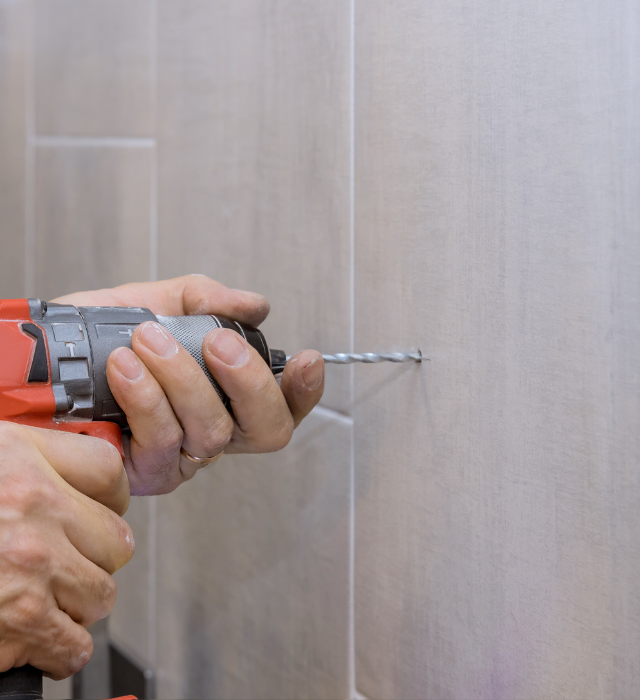
Drilling through ceramic tiles can be quite challenging for those who are new to it.
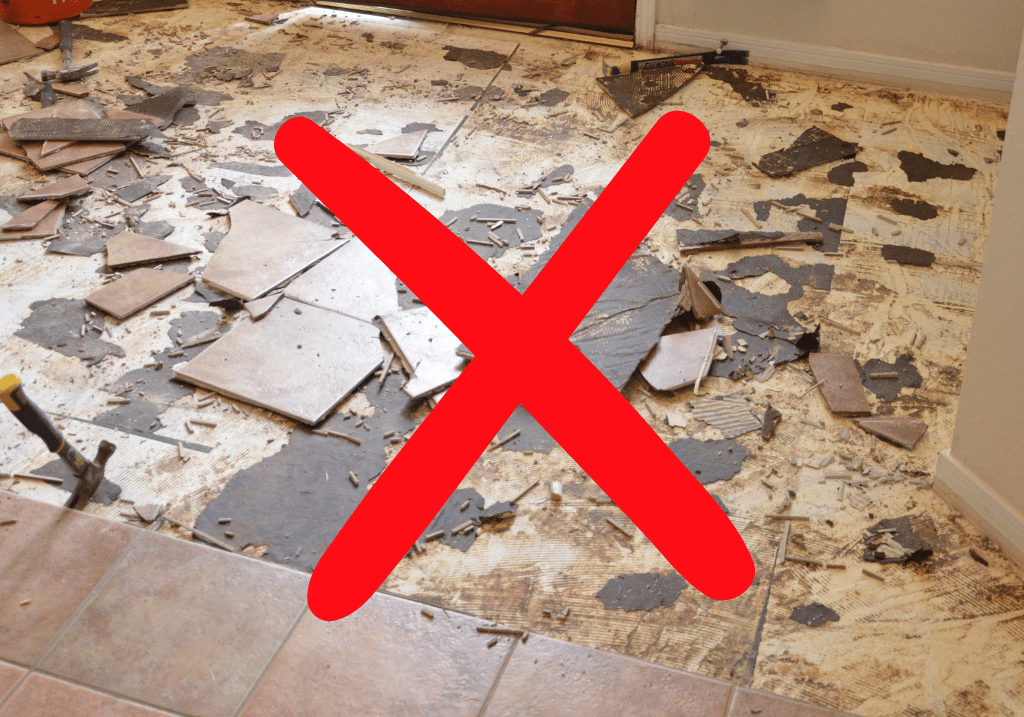
Using the incorrect drill bit for ceramic can quickly result in cracks or damage, transforming a straightforward project into a vexing experience.
Choosing the correct drill bit is crucial for creating neat and accurate holes without damaging your tiles.
And costing you money!
Types of Drill Bits Suitable for Ceramic Tiles
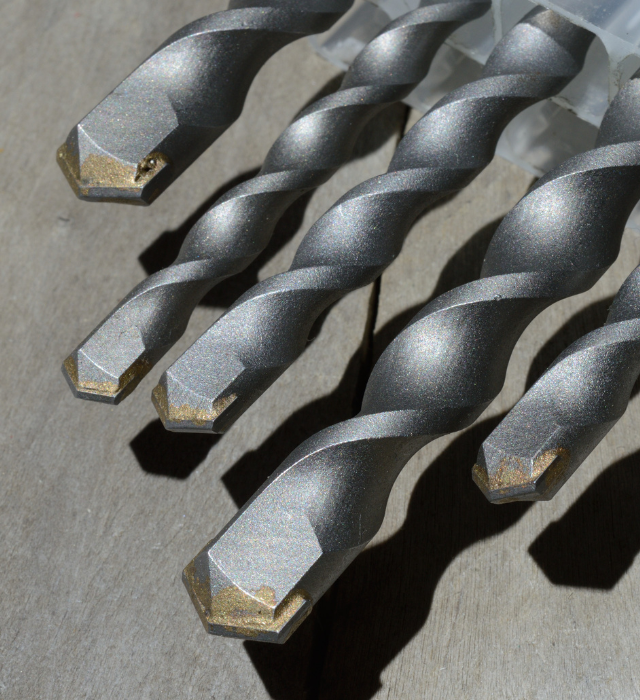
- Carbide-Tipped Drill Bits: Ideal for beginners, these bits offer a combination of durability and precision. They are specifically designed to handle the hardness of ceramic without overheating.
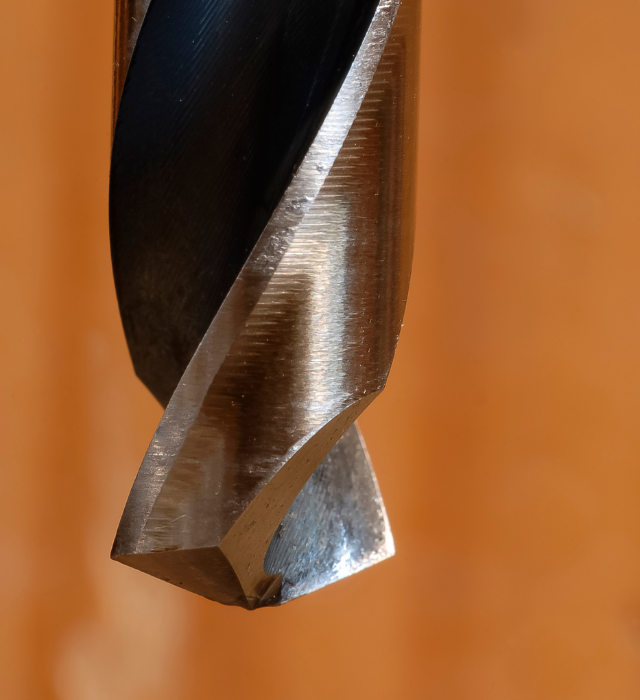
- Diamond-Tipped Drill Bits: Best for those who require the utmost precision and are tackling more detailed work. These bits cut through tiles with a very fine, sharp edge, reducing the risk of cracking.
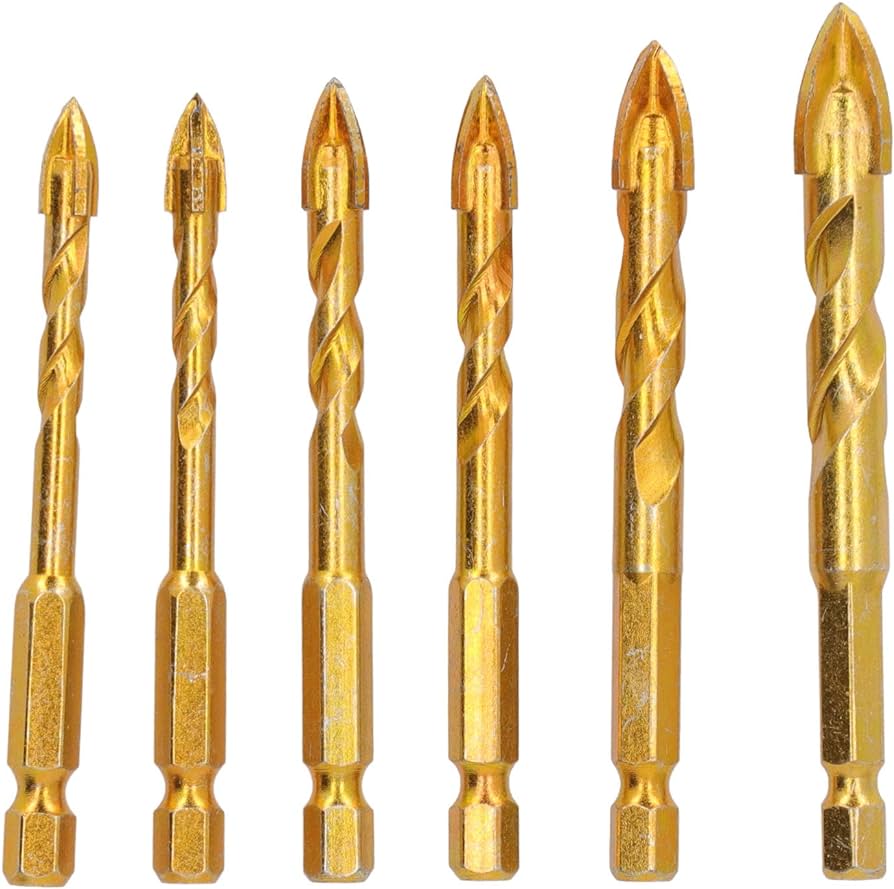
- Spear-Headed Bits: Perfect for softer ceramic tiles, these bits have a spear-shaped tip that initiates a gentle but effective cutting action.
Every drill bit has unique advantages, and selecting the appropriate one relies on the specific needs of your project and the type of ceramic tile you’re dealing with.
Comparative Analysis: Which Drill Bit Tops the Chart?
When it comes to drilling ceramic tiles, not all drill bits are created equal.
Here’s a more detailed breakdown of the top contenders, helping you make an informed choice for your DIY projects:
- Carbide-Tipped Drill Bits: These are a fantastic choice for general use. They balance durability and cost-effectiveness, making them ideal for homeowners who need to drill holes occasionally without breaking the bank.
- Diamond-Tipped Drill Bits: For precision and longevity, diamond-tipped bits are the way to go. Although they come at a higher price, their efficiency in cutting through tough tiles without damage justifies the investment, especially for intricate work.
- Spear-Headed Bits: Spear-headed bits are excellent for softer ceramic tiles or for projects requiring only a few holes. They tend to be cheaper and work well for small, less frequent jobs.
Choosing the Right Bit for Your Tile Type:
- For hard porcelain tiles, diamond-tipped bits are recommended due to their sharpness and durability.
- For standard ceramic tiles, carbide-tipped bits are usually sufficient and provide a good balance between performance and cost.
- For decorative or less durable tiles, consider spear-headed bits to minimize cracking.
Step-by-Step Guide to Drilling Ceramic Tiles
Drilling ceramic tiles demands a steady hand and careful attention to detail.
Here’s a step-by-step guide to help you achieve flawless results:
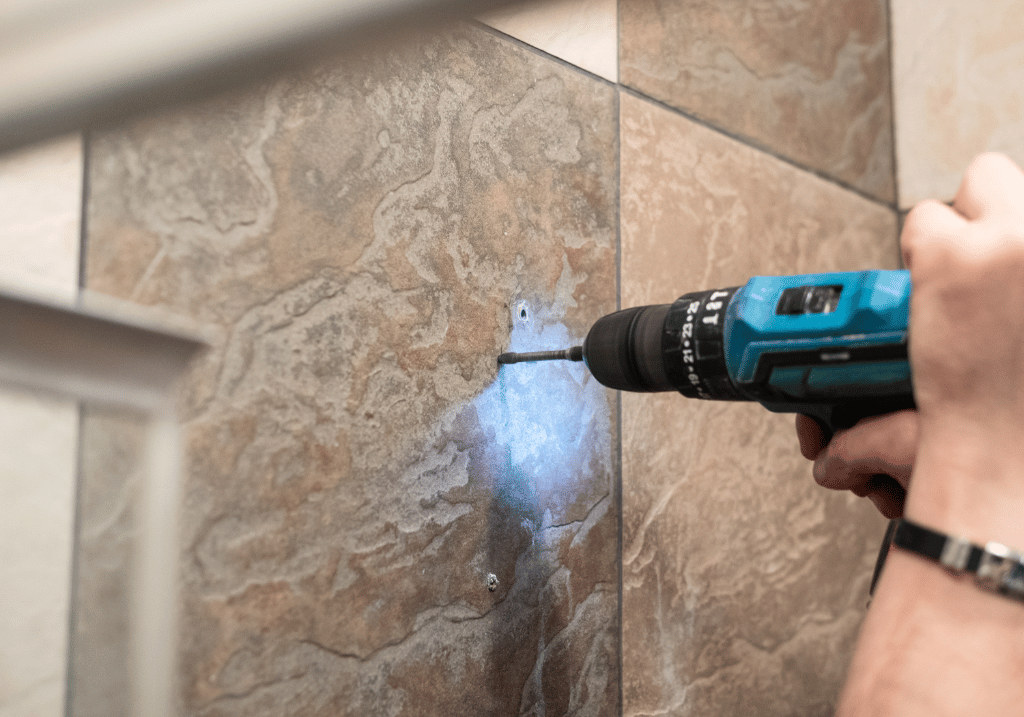
- Get Your Workspace Ready: Make sure the tile surface is clean and dry. Apply masking tape over the area where you plan to drill. This will help prevent any unwanted slipping of the drill bit.
- Mark where you want to drill: With a steady hand, mark the precise spot on the tape where drilling is required.
- Choosing the Right Drill Bit: Choose the right drill bit for the job by considering the hardness of the tile and the size of the hole you need.
- Get Your Drill Ready: Make sure to firmly attach the drill bit to your drill. Begin by setting the drill to a lower speed.
- Time to start drilling: Position the drill bit on the designated spot and begin drilling at a gradual pace to establish a secure groove. Once the bit is securely in place, you can gradually increase the speed.
- Ensure the Drill Bit Stays Cool: Remember to periodically dip the drill bit in water or spray the drilling area with water to ensure the bit stays cool and doesn’t overheat.
- Complete the Hole: After drilling through the tile, slow down the speed and carefully remove the drill bit to prevent any chipping near the exit point.
Common Mistakes to Avoid
When it comes to drilling ceramic tiles, there are a few important things to keep in mind in order to ensure a successful outcome:
- Skipping Water Cooling: Neglecting to use water for cooling the drill bit can result in overheating, causing harm to both the bit and the tile.
- Starting the drilling process at a high speed can lead to unfortunate consequences such as the bit slipping or the tile cracking. Take it easy at first and gradually increase your pace.
- Mastering the Art of Using Blunt Tools: If your drill bit is worn out, it may not perform as effectively and could potentially slip or struggle to cut properly. Make sure to inspect your tools before getting started and replace any worn-out bits.
- Skipping the step of applying masking tape can result in the drill bit slipping, which can increase the likelihood of cracking the tile. It’s important to remember this precaution to ensure a successful DIY project.
With these simple steps and a little attention to detail, you’ll be able to drill your ceramic tiles with ease, achieving high-quality results without breaking the bank.
Additional Resources
To further assist you in your DIY tile drilling journey, consider exploring these internal links that provide complementary information and tips:
- How to Drill a Hole in Porcelain Tile: Your go-to guide for handling the tougher porcelain tiles.
- How to Remove Ceramic Tile Without Breaking: Learn how to safely remove your old ceramic tiles.
- What Do You Use to Cut Ceramic Tile?: A guide on choosing the right tools for cutting different types of ceramic tiles.
Conclusion
Choosing the right drill bit for ceramic tiles is crucial for any DIY project.
By understanding the different types available and using the tips provided, you can ensure a smooth and successful drilling experience.
Remember, the key to perfect drilling is not just the right tools but also the technique and preparation.
Call to Action
Ready to start your next DIY project?
Visit Ceramic City for a wide range of high-quality drill bits perfect for ceramic tiles.
And don’t forget, if you have any questions or need further assistance, our expert staff are delighted to answer your questions at any of our showrooms.