Are you planning to remove ceramic tiles from your wall at home but don’t know how to do it without breaking them?
You’re not alone.
It’s a problem a lot of homeowners and DIY lovers face, particularly in the modern day world where reusing material and eliminating waste is very important. Not to mention the cost.
Often there’s a job that needs doing whereby a few tiles need to be removed.
This blog will talk you through the job of how to remove a ceramic wall tile without breaking it.
Be warned, it can be a messy and difficult job. So we always recommend a professional.
However, if you fancy it yourself, here’s how.
How Long does it take to Remove a Ceramic Wall Tile
We advise that you begin by removing just one row of tiles at a time and work your way up until all of them are gone, as the number of tiles that need to be removed will determine how long it takes.
Paint thinner can help dissolve any remaining adhesive, which will facilitate removal in the future.
One row of tiles can be removed in about fifteen minutes, and a wall can be removed in about an hour.
However, this relies on your level of experience; some individuals may finish it in a matter of minutes, while others might need many hours.
If you’re laying rhe tiles agai, knowing how to cut a ceramic tile might help.
Tools You’ll Need to remove a Ceramic Wall Tile without breaking it
Embarking on a DIY project like removing ceramic wall tiles without breaking them demands the right tools and materials.
This section will guide you through what you need to ensure the process goes smoothly and safely.
Preparation is vital.
Safety First: To protect yourself from flying dust and debris, put on a dust mask, strong gloves, and safety goggles. No one wants a trip to A&E with some debris in your eye!
Protective Sheeting: Cover the room’s floor and any furnishings with tarps or drop cloths. This will shield your house from dust and tile debris and facilitate cleansing. Plastic sheeting that you can pick up in any DIY store is also dead handy.
If you want to know the best drill bit for a ceramic tile, we’ve got you covered here.
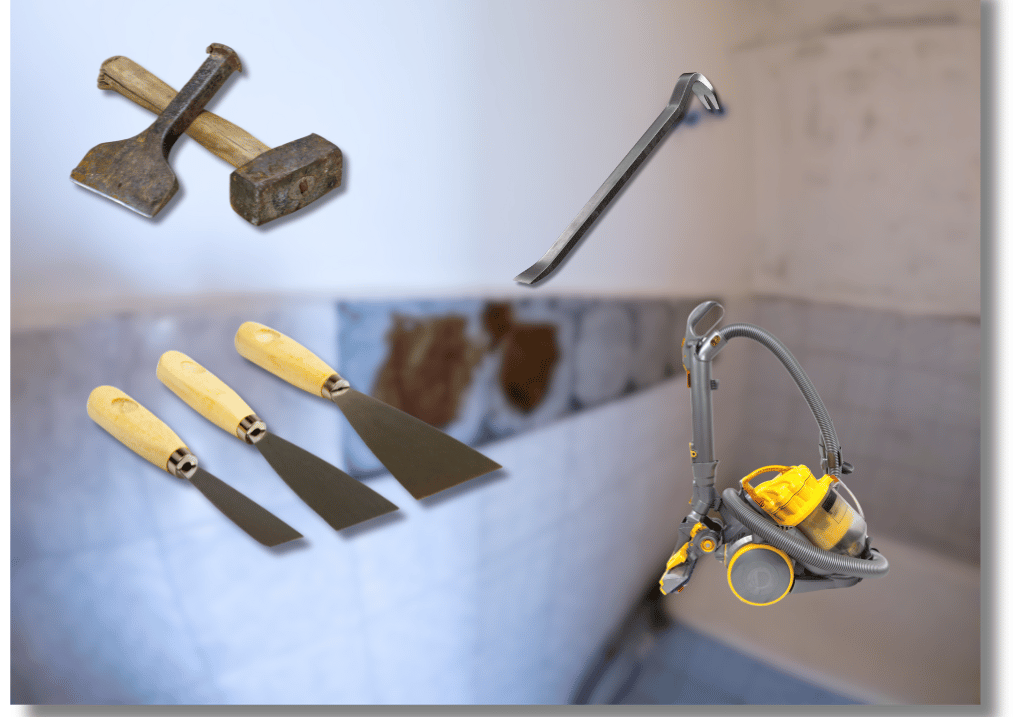
Tools Needed
Here are the tools you’ll need for tile removal:
Hammer and Chisel: Essential for gently chiselling away the grout and prying the tiles off the wall.
Pry/Crow Bar: Useful for carefully lifting the tiles after loosening them. A pry bar is like a miny crow bar.
Putty Knife or Screwdriver: For finer work, like scraping away small pieces of grout or adhesive.
Hoover: To clean up the debris as you go, maintaining a clear workspace. It will be dusty work, so maybe best to avoid the brand new Dyson and go for a cheaper hoover you might have in the house.
Remember, the right tools not only make the job easier but also help prevent damage to the tiles and your wall.
Preparation Before the Tile Removal
Before you start the physical work of removing the tiles, it’s crucial to prepare the area.
This step is often overlooked, but it’s essential for both safety and efficiency.
Clear the Area
Remove Obstructions: Ensure that the work area is free of furniture and other items. This not only creates space for you to work but also protects your belongings from dust and debris.
Cover and Protect: Use plastic sheeting or tarps to cover any remaining fixtures, fittings, or immovable furniture. This helps an easy cleanup and prevents damage.
Safety Measures
Wear Protective Gear: Always wear your safety goggles, gloves, and dust mask. This protects you from sharp tile edges and harmful dust.
Seal Vents and Drains: Cover any vents or drains in the area to prevent them from getting clogged with debris and dust.
Assess the Tiles
Check Tile Attachment: Determine how the tiles are attached to the walls. Are they set in mortar or mastic adhesive? This knowledge will guide your removal strategy.
Plan Your Approach: Decide where to start. Often, beginning at a broken or loose tile is easiest. Try and be smart and methodical here.
Step-By-Step Guide: How To Remove a Ceramic Tile without Breaking Them
Removing ceramic wall tiles without breaking them requires patience and precision.
These traits are not possessed by every person, so if you know none of the above, then maybe it’s best you don’t take this on!
But follow this step-by-step guide to ensure a successful outcome.
1. Testing and Exploration
Choose a Test Area: Begin with a small, less noticeable area. This will give you an idea of how challenging the project might be.
Sacrificial Tiles: Be prepared that the first few tiles might break. This is normal and part of the process. So don’t let it affect your confidence or mood if this happens. If this is your first time doing this job, you’re bound to make a mistake.
2. Removing Grout
Grout Removal: Use a grout removal tool to carefully scrape away the grout between the tiles. Focus on the edges and corners where tiles meet to make your life easier.
The video below is a great way of doing this.
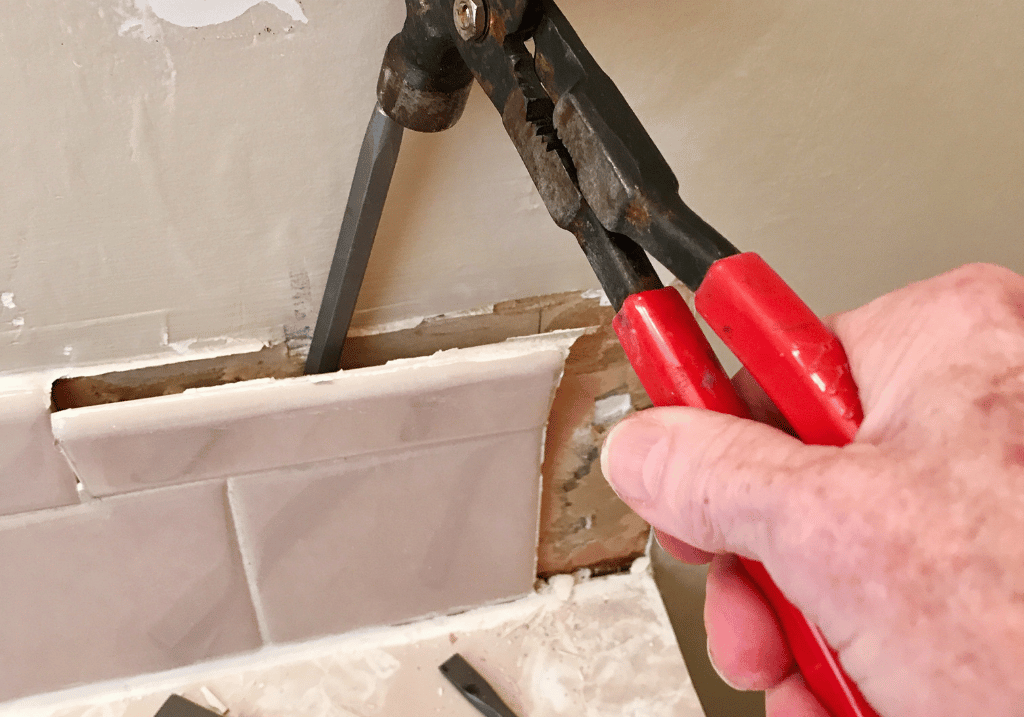
3. Prying Tiles
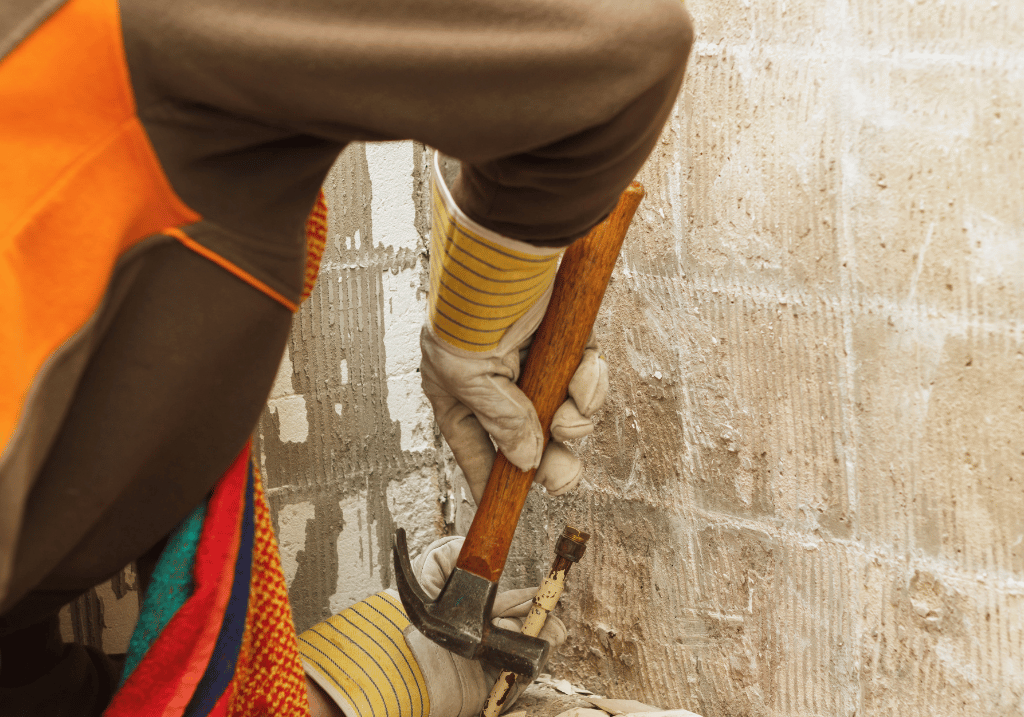
Mastic Adhesive Tiles: If the tiles are set with mastic adhesive, gently pry them up using a mason’s chisel and hammer. Start from the edges and work your way in. Be careful of your fingers.
Mortar Set Tiles: For tiles set in mortar, use a sturdy putty knife and hammer. You may require a power tool for more stubborn tiles, but we urge you to exercise caution on these.
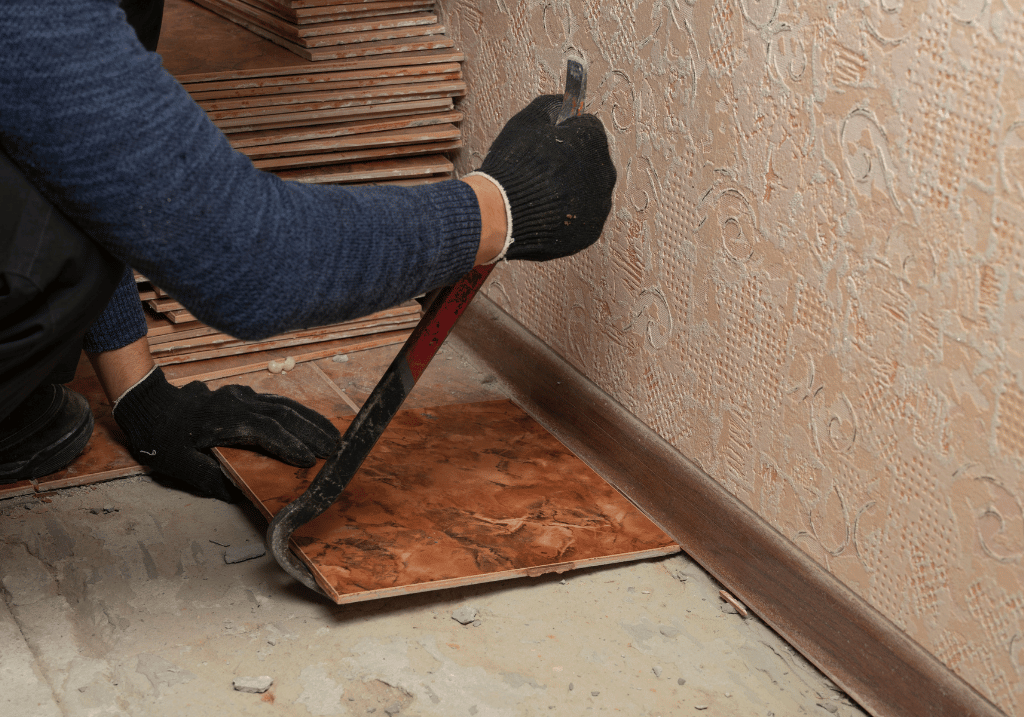
4. Careful Removal
Work Slowly: Take your time to gently lift each tile. Rushing can lead to breakage. Have patience and don’t rush.
Keep Angles Shallow: Keep your tools at a shallow angle to avoid damaging the wall behind the tiles.
The video below gives a good idea of how to remove a ceramic tile from the floor without breaking it. But you will see from this that it is not an easy job.
What to Avoid when Removing Ceramic Tiles
While removing ceramic wall tiles, some common pitfalls can lead to unnecessary breakage or damage.
Being aware of these can help you avoid them and ensure a smoother process.
1. Using Excessive Force
Gentle Approach: Avoid using excessive force. Tiles are brittle, and too much pressure can cause them to crack or break.
Tool Handling: Use your tools gently. Aggressive chiseling or prying can damage both the tiles and the underlying wall.
2. Rushing the Job
Patience is Key: Rushing through the removal process increases the risk of breakage. Take your time with each tile.
Systematic Removal: Work systematically, one tile at a time, to maintain control over the process.
3. Improper Tool Use
Right Tools for the Job: Ensure you’re using the correct tools for each stage of the process. Using a tool not meant for tile removal can lead to accidents and breakage.
Maintain Tool Angles: Keep your chisel or pry bar at a shallow angle to minimize wall damage.
4. Neglecting Safety
Safety First: Always wear your safety gear. Broken tiles can be sharp, and the dust can be harmful if inhaled.
Workspace Safety: Keep your work area clean and free of debris to prevent accidents.
Top Tips on Removing Ceramic Tiles Without Breaking Them
1. Start with the Easiest Tiles
Loose or Damaged Tiles: Begin with tiles that are already loose or damaged. They provide an easier starting point and help you get the hang of the process.
2. Systematic Approach
One Tile at a Time: Focus on one tile at a time. This systematic approach prevents overwhelming yourself and reduces the risk of mistakes.
Work from Top to Bottom: Start from the top row of tiles and work your way down. This prevents the upper tiles from falling and breaking as you work on the lower ones.
3. Leverage and Angle
Shallow Angles: Keep your tools at a shallow angle to the wall. This minimizes the force applied to the tiles and reduces breakage.
Finding Leverage Points: Look for natural leverage points where the tile is already slightly detached. This makes it easier to insert your tools without applying excessive force.
4. Clean Workspace
Regular Cleaning: Regularly clean away debris and dust. A clear workspace allows for better visibility and safer working conditions.
Organise Tools: Keep your tools organised and within easy reach. This not only saves time but also prevents accidents.
5. Patience and Observation
Take Your Time: Tile removal is not a race. Work slowly and with purpose.
Observe and Adapt: Pay attention to how each tile reacts as you work. Adapt your technique as needed based on the tile’s response.
Conclusion
Congratulations on completing your ceramic wall tile removal project!
By following the steps and tips provided, you’ve successfully navigated a challenging yet rewarding DIY task.
Before you go, this blog on Drilling a Hole Properly in a Porcelain Tile might be of interest?
With the tiles removed and your wall prepped, you’re now ready to move on to the next phase of your renovation project. Whether it’s retiling, painting, or applying a new wall treatment, the clean slate you’ve created offers a world of possibilities.
Call in to any of our showrooms if you need some new tiles.
For more DIY tips, tricks, and guides, be sure to check out our other blog posts on the Ceramic City website, including our articles on removing oil stains from kitchen tiles and understanding porcelain floor tiles.
Frequently Asked Questions (FAQs)
Can removed ceramic tiles be reused?
Yes, with careful removal, many tiles can be reused, especially those set with mastic adhesive.
How should I clean the adhesive off the wall?
Use a chisel for larger chunks and a finer scraper for the remainder, then sand the wall smooth.
Is it possible to remove tiles without damaging the wall?
Yes, by using the correct tools and techniques, you can remove tiles without damaging the underlying wall.
What are the key safety tips during tile removal?
Always wear heavy-duty gloves, safety goggles, and a dust mask. Keep the work area clean and free from debris.