When embarking on a home renovation or DIY project, selecting the correct tools to cut ceramic tiles is critical.
Fail to preapre and prepare to fail and all that jazz!
This choice not only influences the ease of your task but also the quality and aesthetics of the final outcome.
With a plethora of tile types available, it’s essential to understand the nuances between them—especially when dealing with popular options like ceramic and porcelain tiles.
This guide is designed to navigate you through the process of choosing the right cutting tools, ensuring your home improvement project is successful and satisfying.
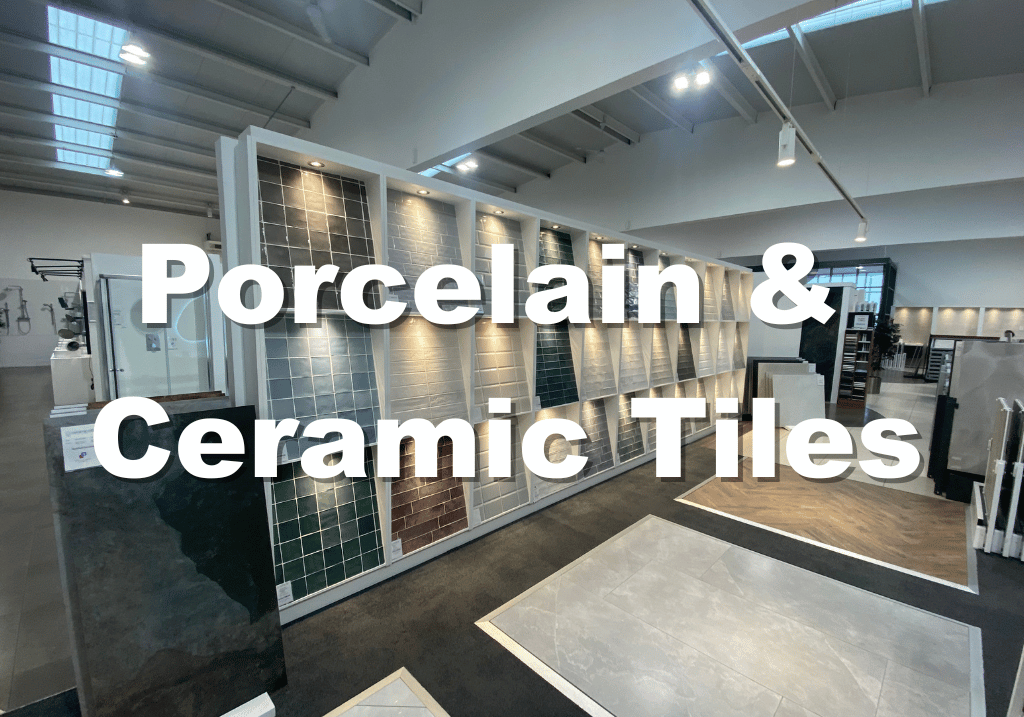
Ceramic City, Ireland’s leading supplier of ceramic and porcelain tiles, offers an extensive collection that can transform any space.
However, the beauty and durability of these tiles are best showcased when they are cut and installed with precision.
Whether you’re a seasoned DIY enthusiast or considering a professional service, this blog will provide valuable insights into the best practices for cutting ceramic tiles, ensuring a flawless finish for your renovation project.
Understanding Tiles: Ceramic vs. Porcelain
At first glance, ceramic and porcelain tiles may appear quite similar, yet each possesses unique qualities and benefits.
Ceramic tiles are known for their versatility and ease of cutting, making them a favorite among DIY renovators. They are ideal for walls and less traffic-heavy areas of the home. On the other hand, porcelain tiles are denser and more water-resistant, making them suitable for floors and high-moisture areas.
For those interested in exploring the differences further, Ceramic City has a comprehensive comparison in our “Porcelain vs Ceramic Tile” blog, which delves into the characteristics, benefits, and considerations of each tile type.
Tools and Techniques for Cutting Ceramic Tiles
The choice of tool largely depends on the type of cut required.
Here’s a breakdown of the most common tools:
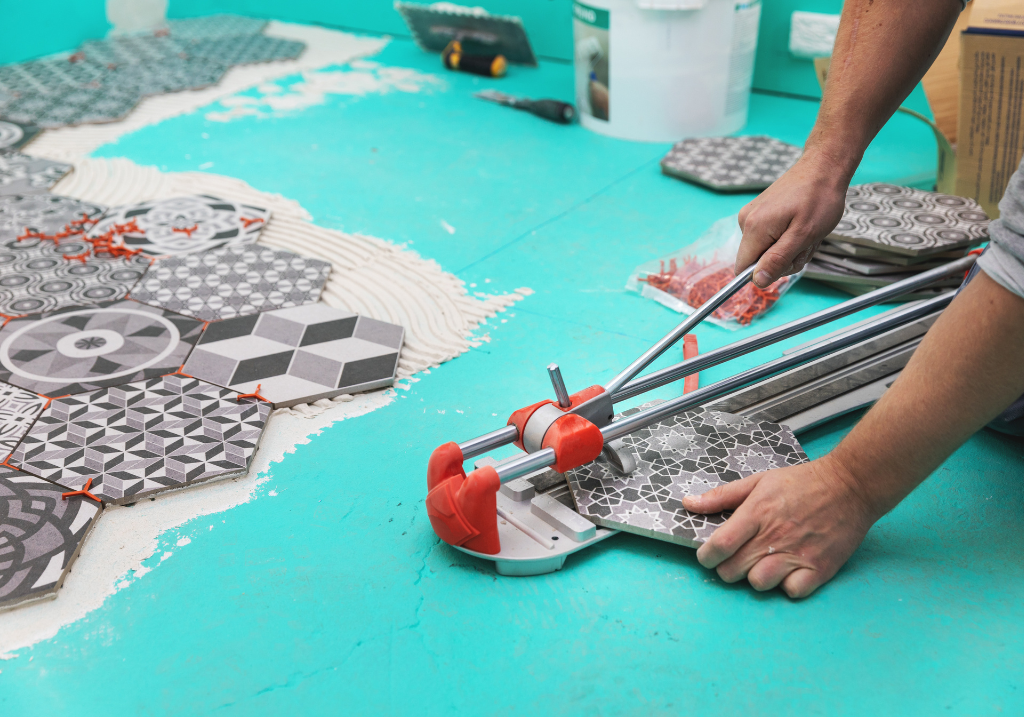
- Manual Tile Cutters: Perfect for making straight cuts across a tile. They are user-friendly, requiring minimal setup and offering quick results. Ideal for DIY projects involving ceramic tiles.
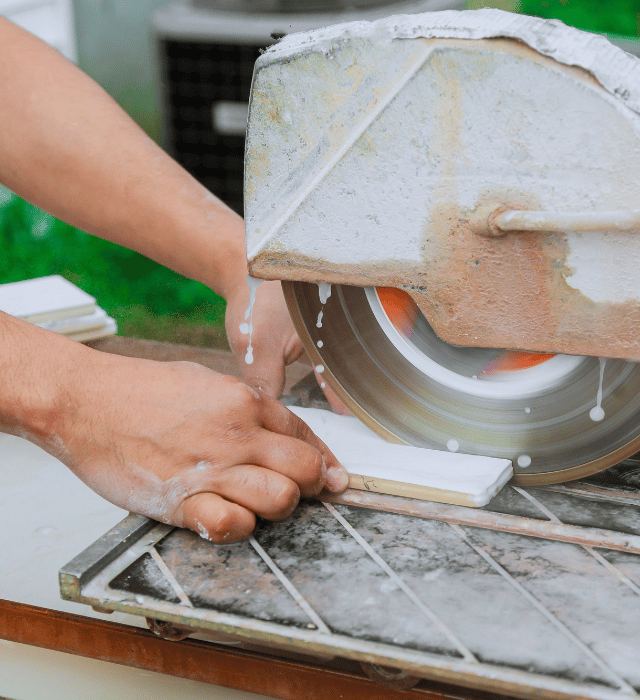
- Wet Saws: These are essential for precision cuts, intricate shapes, or large volumes of tiles. Wet saws use water to keep the blade cool, reducing dust and the risk of chipping the tile.
- Angle Grinders: A versatile option for making specific cut-outs or curved lines. Though they require a steady hand, angle grinders can be invaluable for complex renovations.
Each tool has its pros and cons, and the choice often boils down to the specific requirements of your project and the type of tiles you are working with.
When to DIY vs. When to Call a Pro
DIY Tile Cutting is a great way to reduce costs and engage directly with your home renovation project.
It’s suitable for smaller projects or when working with materials that are easier to handle, like ceramic tiles.
Here’s a DIY Guide to Removing a Ceramic Tile without breaking it.

Professional Tile Cutting Services are recommended for large projects, complex designs, or when precision is paramount.
Professionals bring expertise, specialized tools, and a guarantee of quality, which can be especially important for high-value renovations.
In this blog, we will tell you what the best drill bit for a ceramic tile is.
Detailed Step-by-Step Guide on Cutting Ceramic Tiles
Achieving a professional-looking tile installation requires precise cuts.
Here’s an expanded, detailed step-by-step guide to cutting ceramic tiles, ensuring your DIY project mirrors professional standards.
Preparation
- Gather Your Tools and Materials: Ensure you have a manual tile cutter or wet saw, measuring tape, pencil or marker, safety goggles, and gloves. If you’re using a wet saw, make sure there’s adequate water in the reservoir.
- Safety First: Wear safety goggles to protect your eyes from ceramic shards and gloves to safeguard your hands.
Measuring and Marking
- Measure the Area: Use a measuring tape to determine the exact dimensions where the tile will be installed. Consider any irregularities in the wall or floor layout.
- Mark the Tile: With a pencil or a non-permanent marker, draw a straight line on the tile where the cut is needed. For complex cuts (like around outlets), create a cardboard template and trace it onto the tile.
Cutting the Tile
- Setting Up Your Cutter:
- Manual Tile Cutter: Position the tile in the cutter, aligning the cutting wheel with your marked line. Apply even pressure on the handle to score the tile.
- Wet Saw: Ensure the blade is sharp and the water reservoir is full. Position the tile on the saw’s platform, aligning the blade with the marked line.
- Making the Cut:
- Manual Tile Cutter: Press down on the handle to snap the tile along the scored line.
- Wet Saw: Turn on the saw and gently push the tile through the blade, following your marked line. Keep your hands clear of the blade and move the tile slowly to avoid chipping.
Finishing Touches
- Inspect the Cut: Check the edges of the tile for any irregularities or sharpness.
- Smoothing the Edges: Use a tile file, sanding stone, or fine-grit sandpaper to smooth the edges of the cut tile. This step is crucial for not only the tile’s appearance but also for safety, preventing sharp edges from causing injuries during installation.
- Dry Fitting: Before applying adhesive, place the cut tile in its intended spot to ensure a perfect fit. Make any necessary adjustments by repeating the marking and cutting process.
Cleaning
- Clean the Tile: After ensuring a perfect fit, clean the tile with a damp cloth to remove any dust or particles resulting from the cutting and smoothing processes. This step is essential for proper adhesion during the installation process.
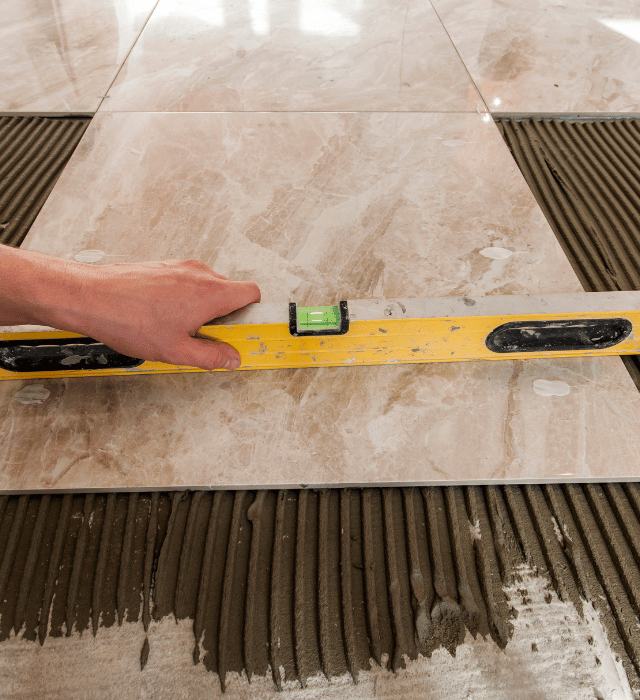
Installation Tips
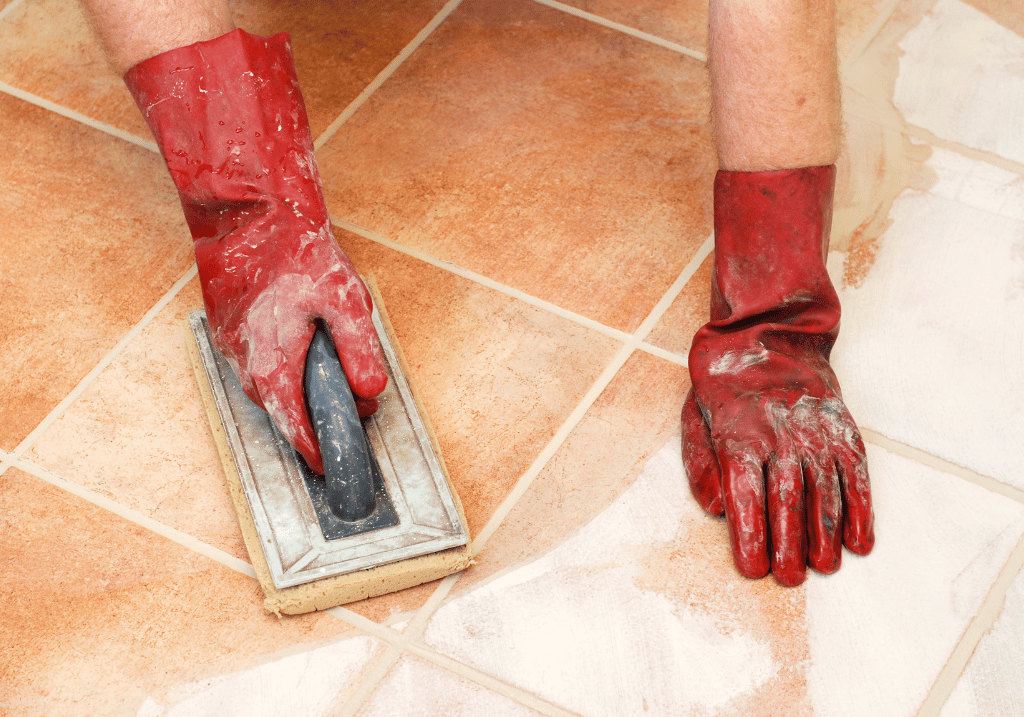
- Apply Tile Adhesive: Spread tile adhesive on the back of the tile or the surface you’re tiling, using a notched trowel to ensure even coverage.
- Place the Tile: Carefully place the tile in the desired location, pressing it firmly into the adhesive.
- Final Adjustments: Use a level to check that the tile is flat and adjust accordingly before the adhesive sets.
Conclusion
Choosing the right tools and techniques for cutting ceramic tiles can significantly impact the outcome of your home renovation projects.
Whether you opt for a DIY approach or decide to hire professionals, understanding the process helps ensure a successful installation.
At Ceramic City, we’re committed to helping you achieve the best results for your tile installations.
Explore our extensive collection of ceramic and porcelain tiles perfect for every room in your home. If you’re looking for more guidance or inspiration, our team is here to help.